

Wall insulation is the second most important insulation to have in your home. The wall area is the second most common and important leak for indoor weather and ambiance conditioning any household has. As a result, it is the second most important energy bill leak for any family economy.
Sadly, wall insulation still seems to be somewhat volunteer. Not as frequently carried out as ceiling or basement insulation and, even though both ceiling and basement insulation are of high importance in the proper maintenance and sustaining of an adequate home, wall insulation is and should be placed high in the ranking of important things to do.

Unlike ceilings, there are definite installations in the walls that need to be properly isolated before setting up the insulation. Most walls have electrical wiring, and a few of those will also have water and sewage installations. These should be considered as well.
Besides, if your home has central heating or AC, the walls are some of the most common locations to place tubes and vents. You also need to take these and windows into consideration.
Before you start installing a Vapor Barrier
Every room has at least four walls. On average, at least one of these walls will see to the outside of the house or will have a wall that is exposed to weather conditions. These are the walls that should be insulated first.
While insulation is not a complicated process, it can turn into a messy one depending on what type of finish you have in your walls, if you need to demolish it or just take it apart. If you need to replace or remove existing insulation and vapor barriers, and so on.
In addition, you need to take the time to do it slowly. Rushing into the process of insulating a wall can only cause problems in the long run, not only in terms of faulty insulation and escaping indoor weather but also in terms of energy bill expenses and potential short circuits and floodings.
Since electricity and water do not mix well, an electric shock is also a possibility. Needless is to state that in those cases, flooding and short circuits, the cost to fix the problem usually ranges in the several hundred.
If you factor in the problems that can arise from this such as fire hazards, electrical shocks, and harm to your health, then the potential damage is extraordinary and so is the amount it could cost to fix them.
So before you start, consider all these tidbits. Then make a decision as to which wall will you be working on first. Once that decision has been made:
- Remove all small decorations such as paintings, picture frames, and the like from the room.
- Move all the sizeable furniture pieces, the ones that can’t be easily transferred to another room on the opposite side of the wall where work will be carried out.
- If there are carpets in the room and these are removable, remove them. or roll them up against the pile of furniture that will be located in the room.
Determine if what you need to do is replace the insulation, add insulation to the existing one, or install insulation from scratch. The process is the same, especially in homes where the layout of masonry has been done and even people are already living in it.
The process of installing a vapor barrier
The process is quite standard and, provided you do take the process slowly, it’s going to be easier than insulating your ceiling or the basement.
Installing the insulation is quite simple, you need to follow the same basic principles that you did for the ceiling:
- Prepare all you will need ahead of time. What tools, disposal receptacles, etc.
- Trim pieces of insulation material that will make it easy for you to handle and manage.
- Remember to have handy the tuck tape and the poly film that you will be using for the vapor barrier.
- Install the insulation in the hard-to-get-places first, then proceed to the ones that are easy to reach.
- You might want to consider using a bit of the tuck tape to lay across the insulation to ensure that it will not fall off the wall. This usually is not necessary because the insulation is supposed to fit snuggly inside the allocated space. However, the width might be off specs of an and that could cause the insulation material to slip off its assigned place.
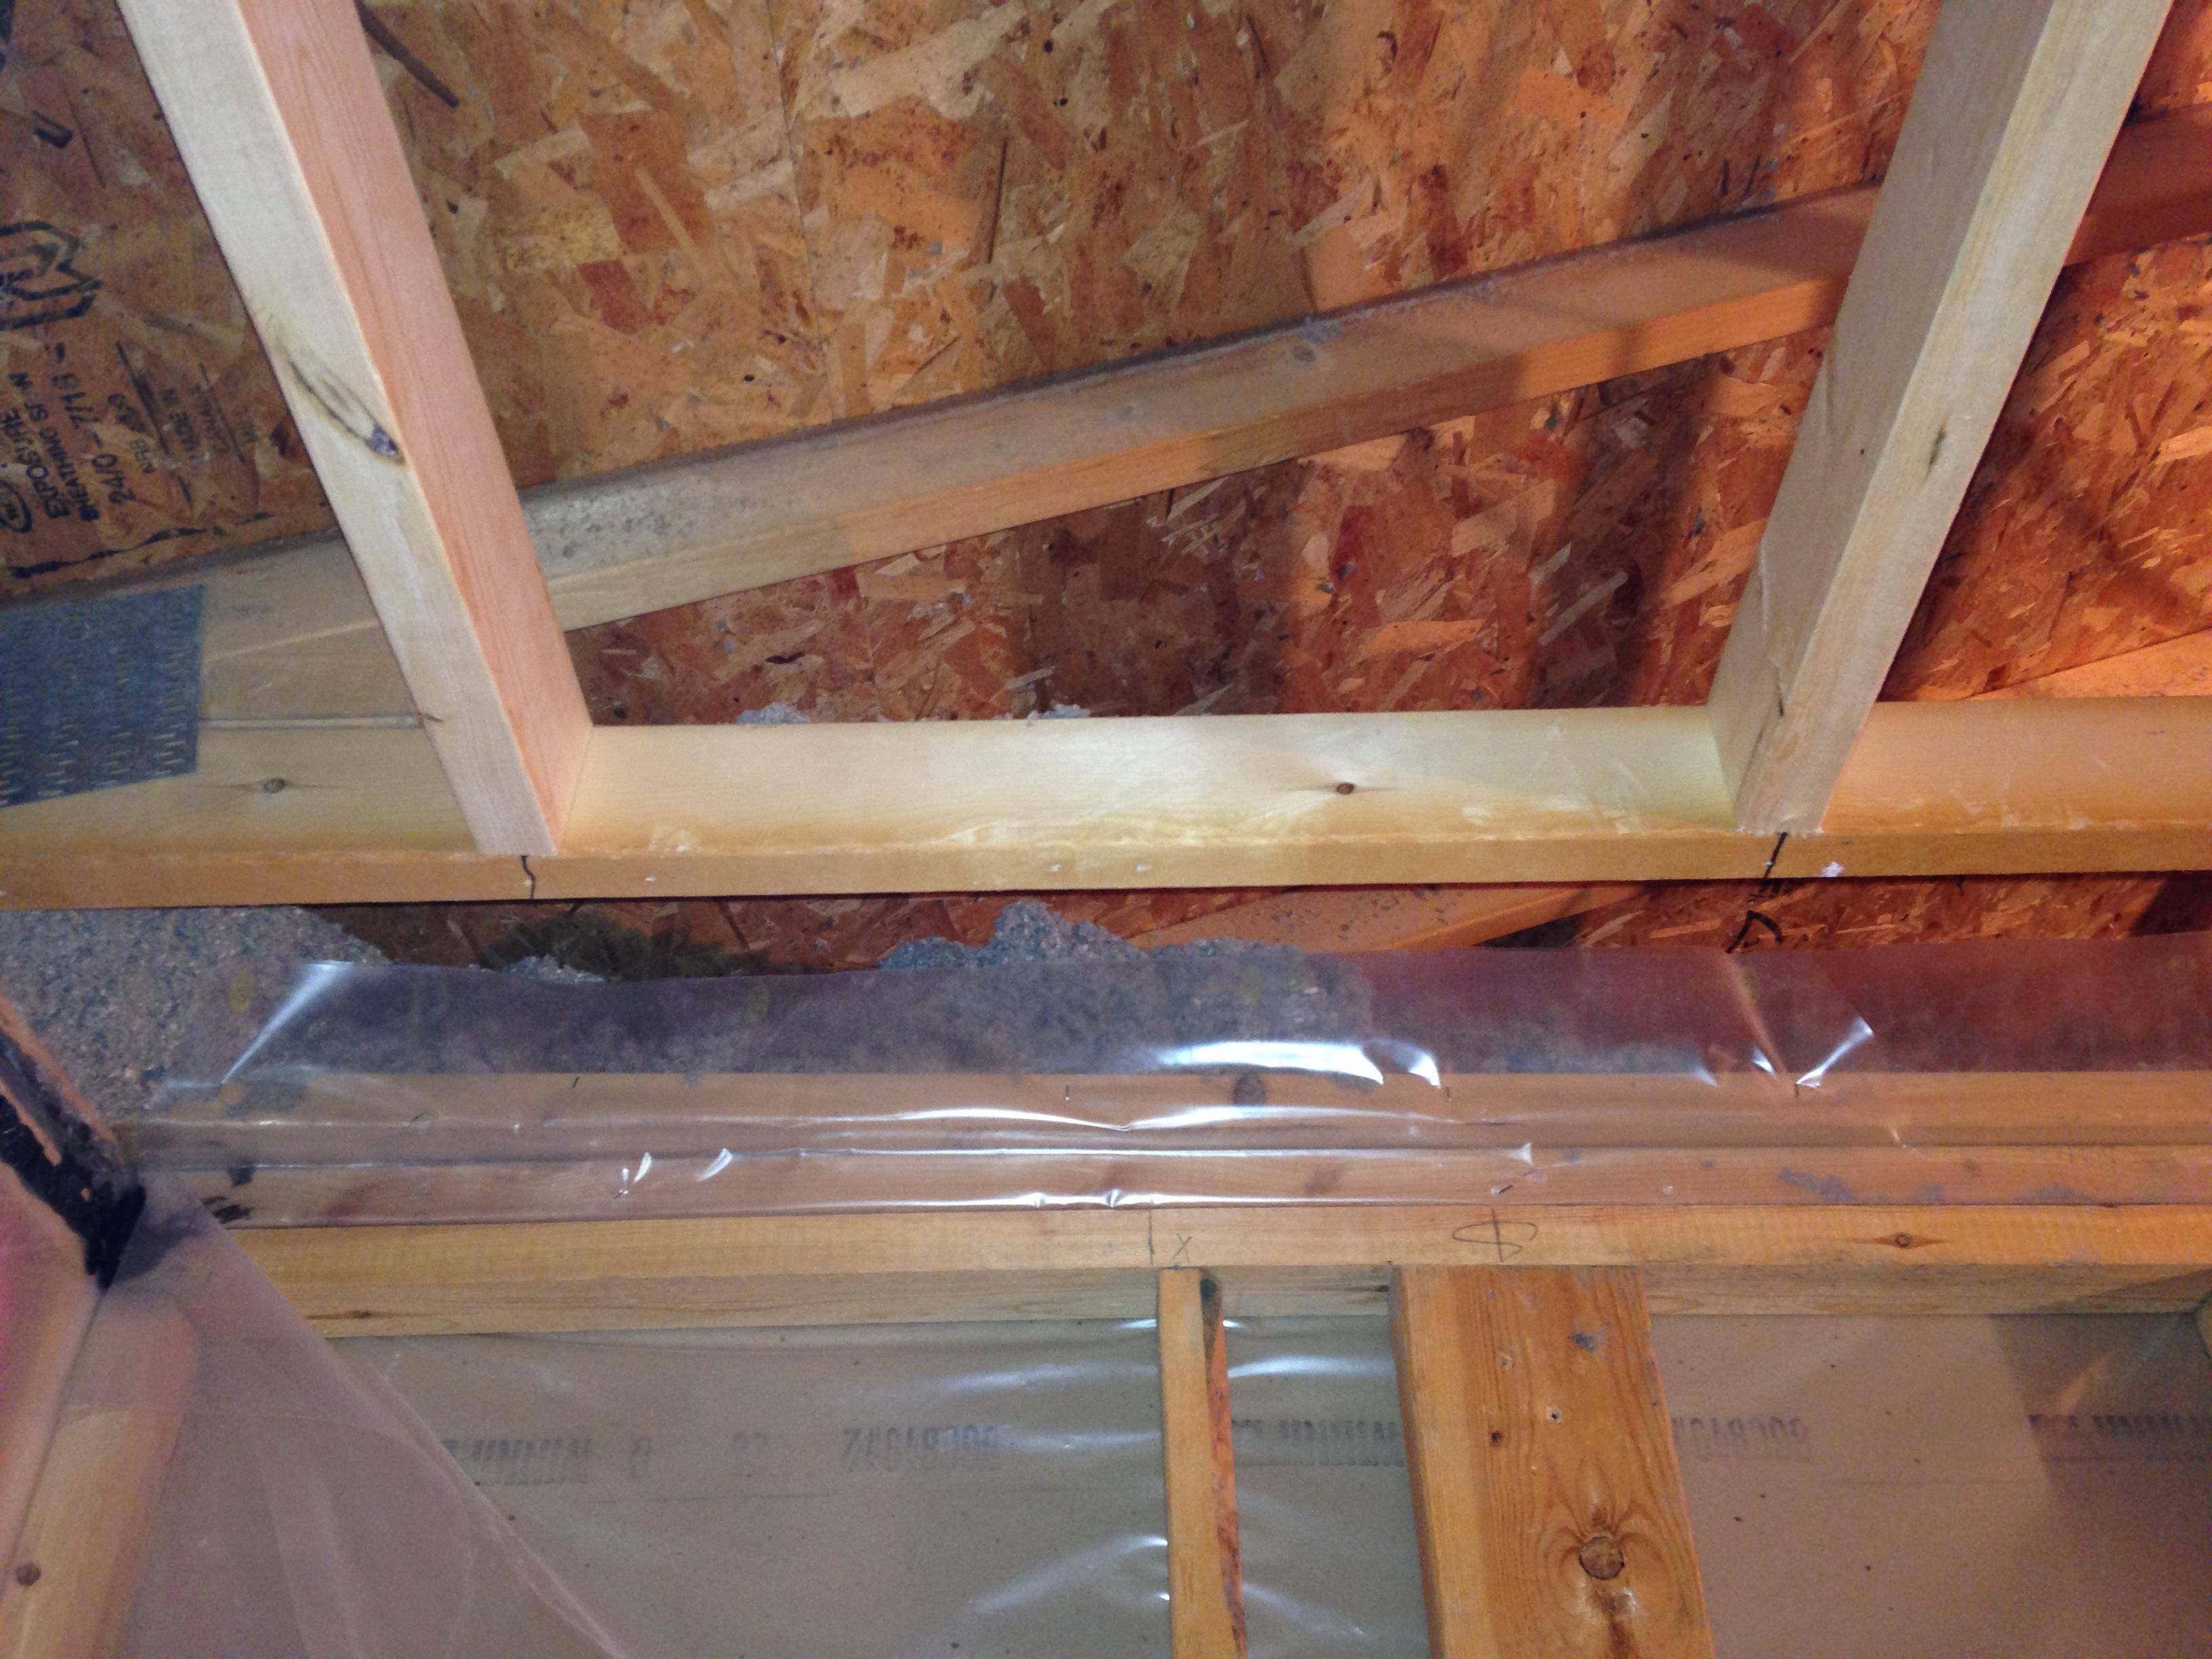
- Spread the poly sheet from one end to the other. Do not try to set it up all in place at once but spread it and then start fixing it from one end and work towards the other end.

- Using a hammer stapler, and caulk fix the poly sheet to the wooden frame of the wall. Work slowly and make sure that the poly sheet’s edge is firmly adhered to the wooden frame.
- Once that is done, it is time to use the tuck tape to cover the staples that have perforated the poly sheet. It is important not to trim the tuck tape into small bits doing so will compromise its efficiency. It is better to use the tuck tape in one single strip. Therefore, when you use the hammer stapler, try your best to set them all in a single line, do not zigzag.
- Once this is all done, then you can refinish the wall and return the room to the way it was.
For wholesale Pricing on insulation. Call or text (424) 343-6530 . We can deliver direct to your site. Call Us Now (424)343-6530 or Message Us Now for bulk pricing.
or visit Wholesale Insulation Supplier Homewoner Guide